Tutorial Tuesday, Vol. 2
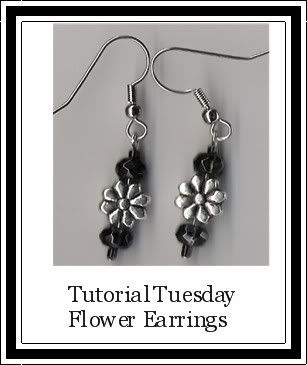
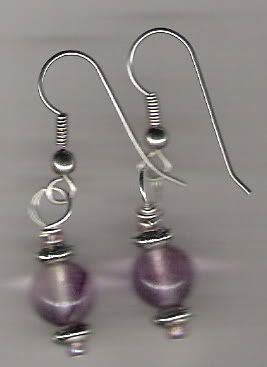
Welcome toTUTORIAL TUESDAYS ™_________________________________________________________Each Tuesday, I will do a tutorial for you, with words and photos, of a project. We will be starting out with a couple of jewelry tutorials, but I will be branching out as well. I hope to try out some new projects for myself, too!___________________________________________________________This week will be doing a great pair of earrings. They are simple, yet unique. This is a great way for beginners to get started making simple earrings.I will give you instructions for the minimal amount of tools required.___________________________________________________________I also have this as a Kit in my shop. So, if you want to make this exact design you can get the kit to follow along. First person to email me with their name and address will get it free! BBBellezza@hotmail.com
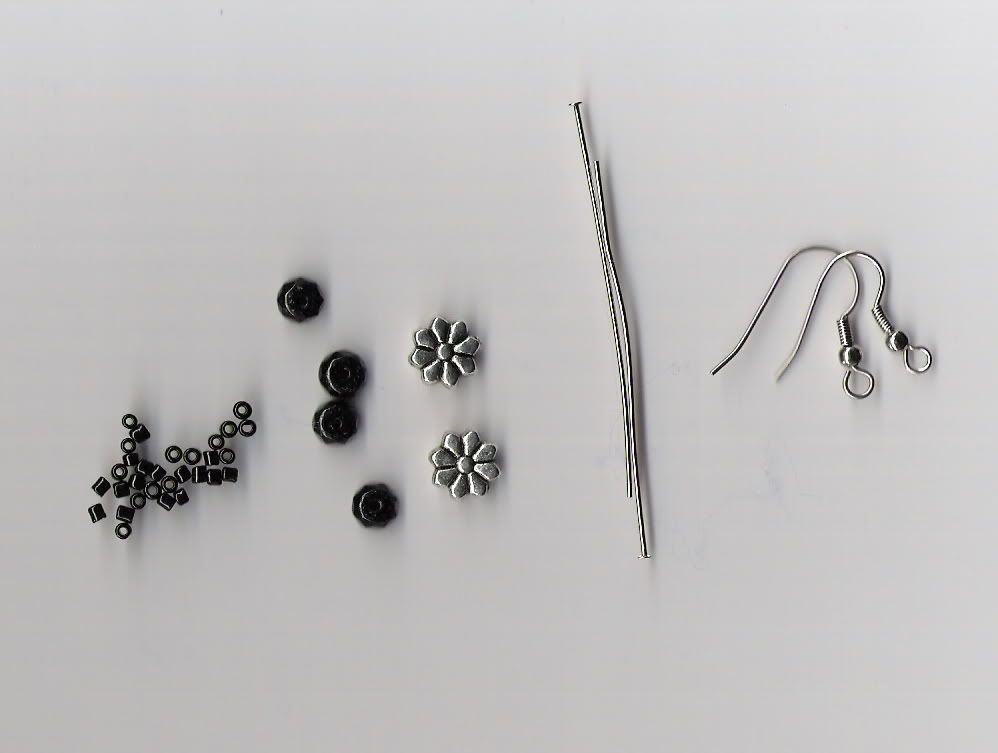
Now, on to the Tutorial!____________________________________________________________FLOWER EARRINGS!Supplies:
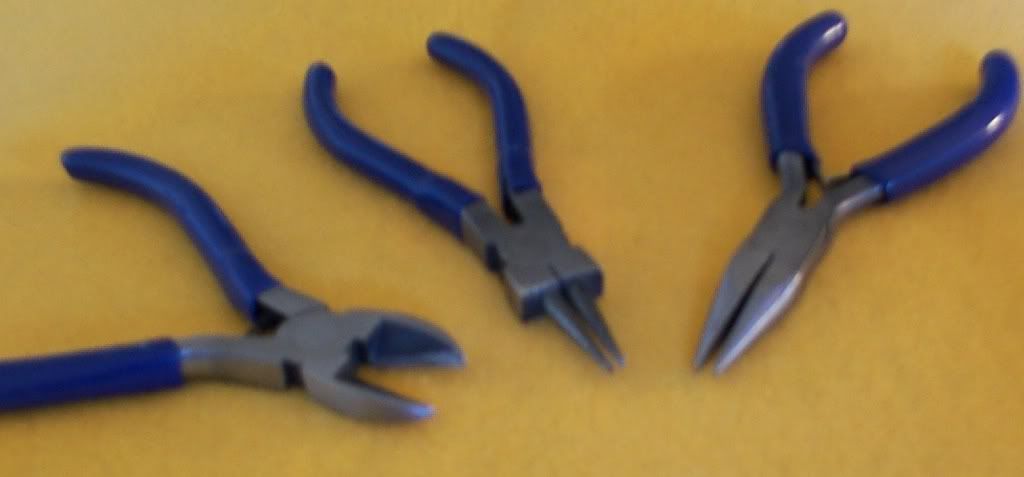
Tools Needed (Not included in the
kit for sale in my shop):
INSTRUCTIONS:
Step 1
1st make sure that you have all of the above items gathered (or make sure they are in your kit if you have ordered one from me.)
Step 2
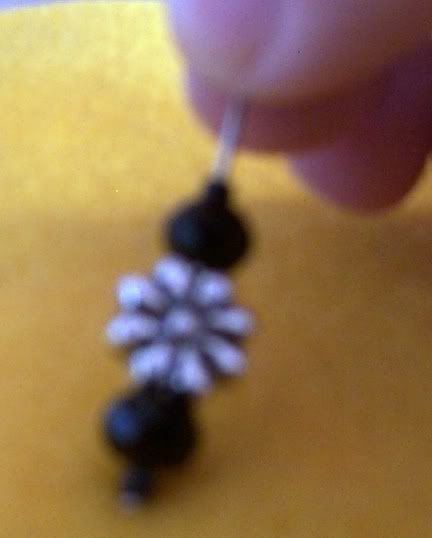
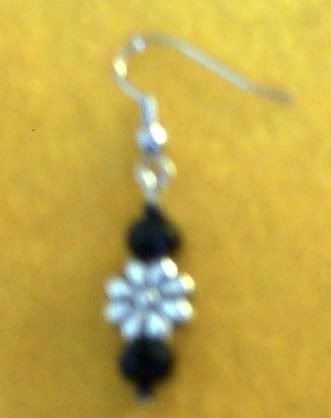
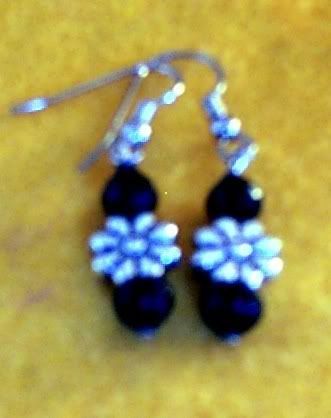
I think that it is a good idea to lay out my design first when possible. It is helpful to place the beads on a piece of felt or a place mat, so the beads do not roll around. For the Silver Flower Earrings, the beads are in this order: 1 seed bead, 1 black glass bead, 1 silver flower bead, 1 black glass bead and 1 seed bead. You will be making a pair, so lay out both.
Step 3
Place the beads on the headpins in the order you laid them out in Step 2.
Step 4
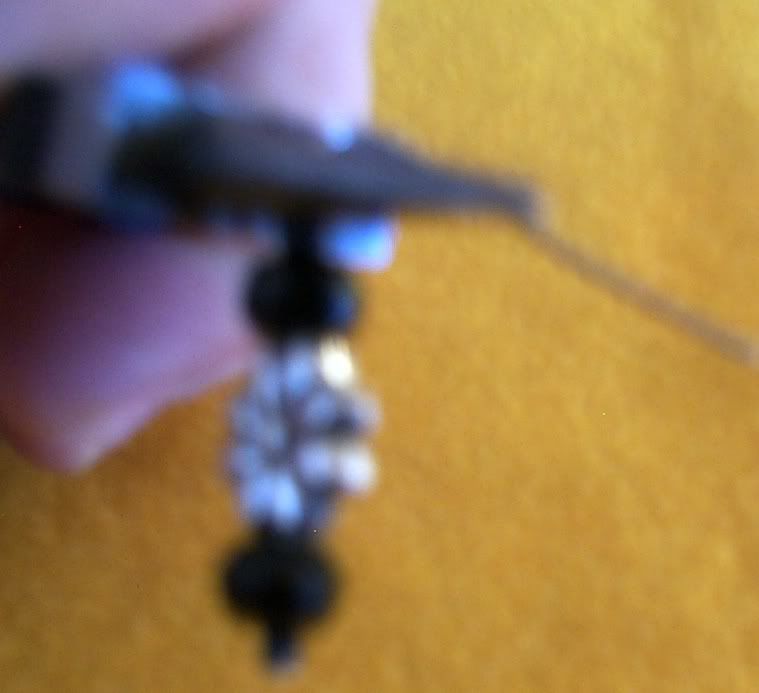
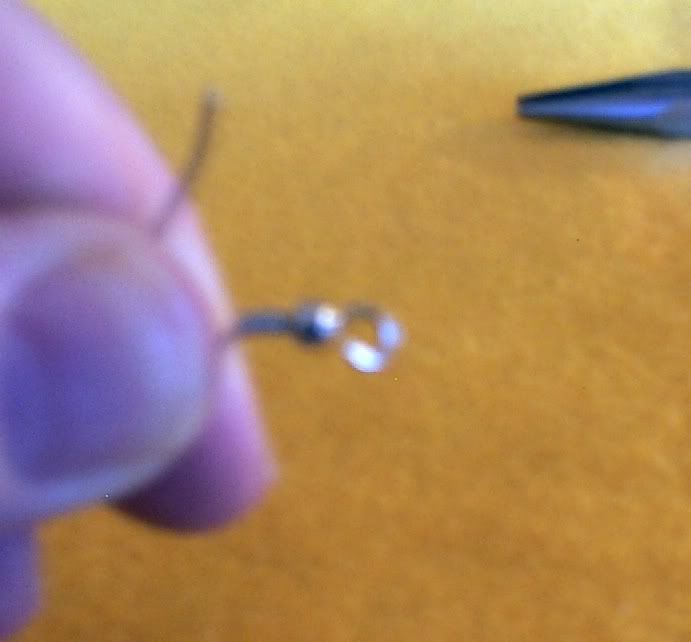
Hold the beads firmly against the bottom of the head pin, the "head", with one hand, then with your pliers (round nose work best) in your other hand, grip the headpin just above the last bead and bend the wire 90 degrees to form a right angle.

Step 5
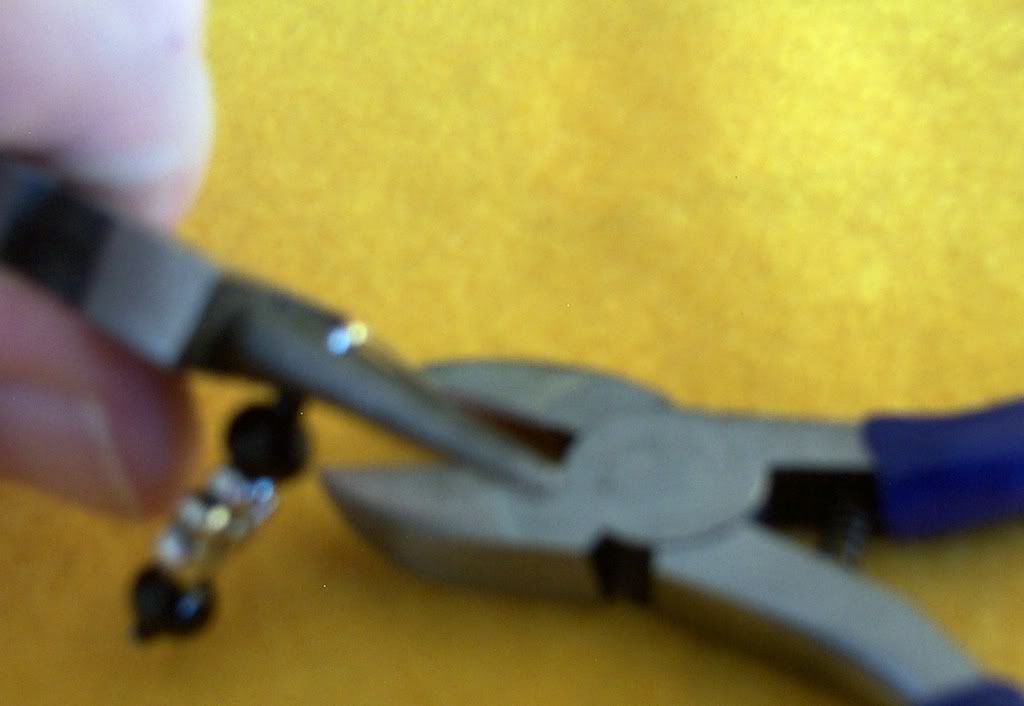
Cut off the excess wire with wire cutters, leaving about 1/4" of the bent portion. Be careful! Sometimes the wire will fly when you cut it, so it is good to keep your hand over it when you cut.
Step 6
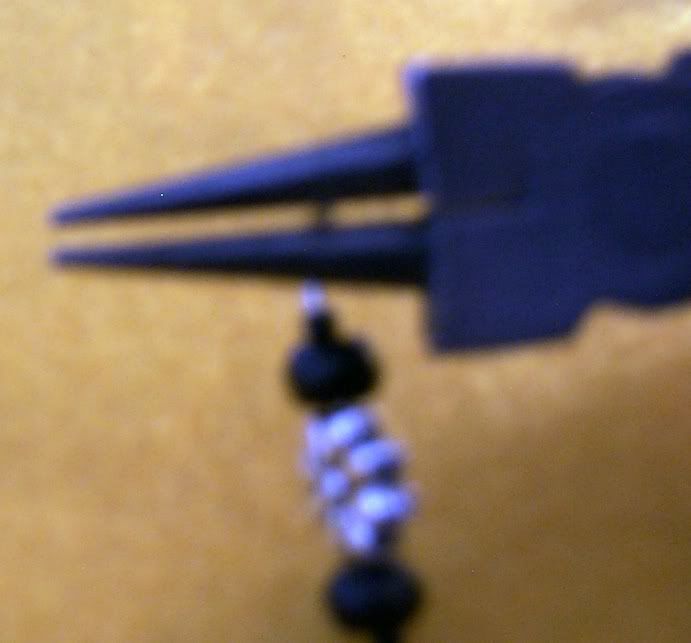
Now we are going to make a simple loop. Take your pliers and curl the top of the headpin toward you to form a loop. Try to end the loop right at the top of the last bead or in it.
Step 7
Open up the loop in the earring wire and hook the loop that you just created into the loop of the earring wire. Tip: do not pull the loop apart, but rather open it sideways so it reatins its circular shape.

Step 8
Close the earring loop.
Step 9
Repeat the process for the second earring.
Step 10
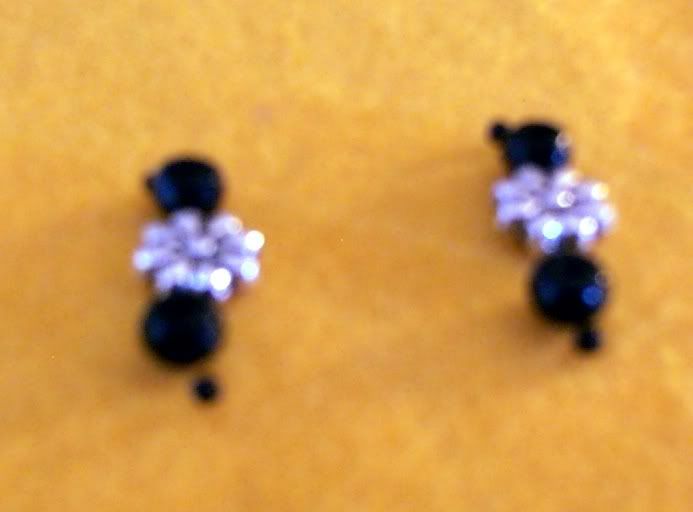
Enjoy your earrings and impress your friends with your cool new skill!
Ideas for my jewerly kits:
Get a bunch of kits and have a DIY Jewelry Party! Everyone gets to make a piece of jewelry to take home with them.
They make great gifts for your crafty buddies or make the jewelry yourself and give the jewelry as a gift. Your friends will love their new handmade gift!
Take care everyone!
Love,
Kim


