Showing posts with label fabric. Show all posts

5.05.2012

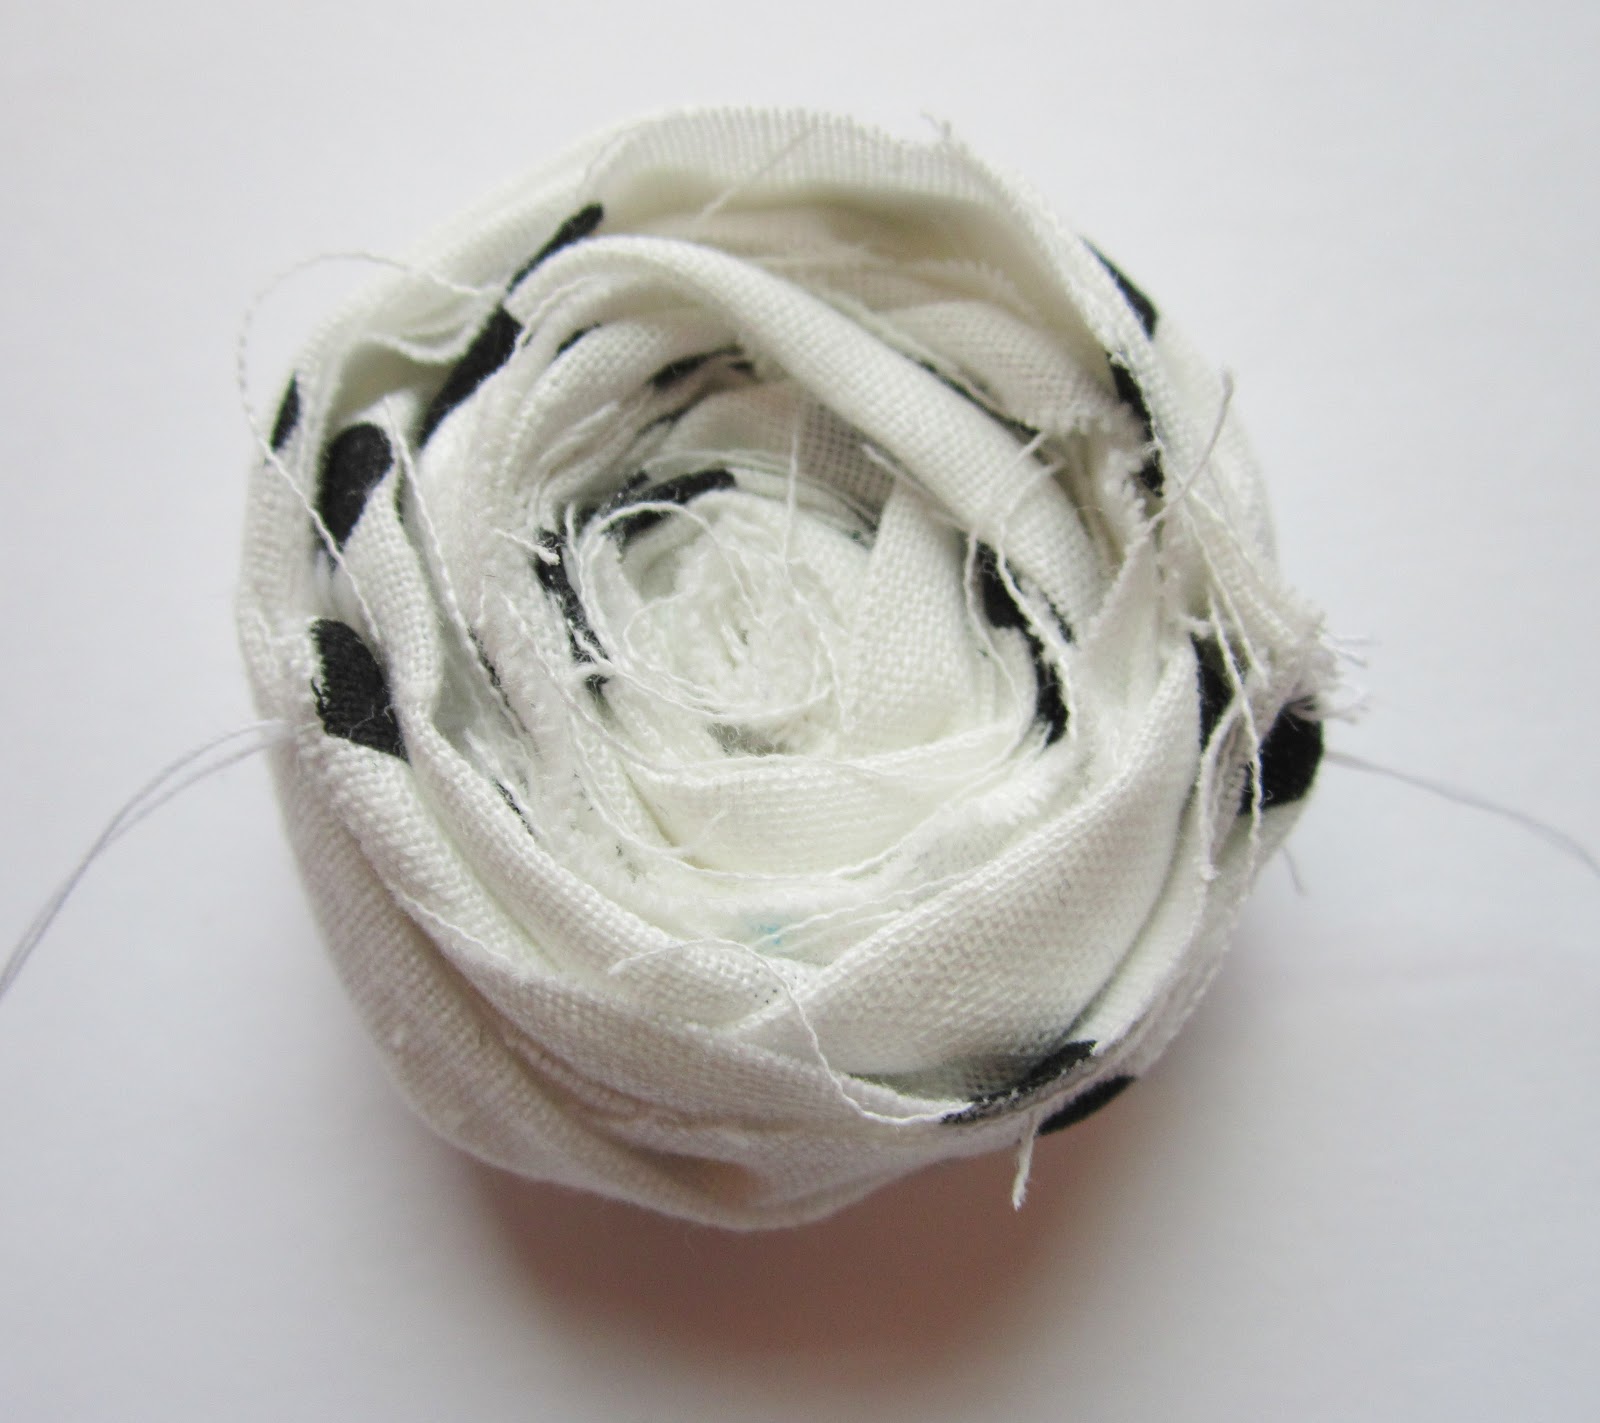
Fabric Rose Flower Brooch


A while back I posted this Fabric Rose Flower Tutorial.  I used it to make a cool garland reusing old t-shirts.


I used the same tutorial to make a pretty brooch.  


I think that this tutorial would also be a beautiful addition to a fabric cuff.  You could either make the brooch and pin it onto the cuff, or sew the fabric rose right onto the cuff.


Materials:


Fabric (old t-shirts work great!)
Needle and thread
Pin finding
I got this fabric (along with another fabric!) at a thrift store for 25 cents!


Step #1


Cut your fabric into a thin strip.  Mine was 1 inch wide and 60 inches long.


Step #2


Fold the fabric in half longways.


Step #3


Roll the fabric a few times, then put a stitch in.  It will be hidden, so it doesn't have to be anything special.  Some people don't clip the thread and just keep going.  I like to tie off and clip the thread.


Step #4


Twist the fabric completely around.  


Step #5


Keep rolling and putting stitches in as you go along.  Continue on until your rose is the size you want.  You can add more fabric strips by stitching them on to the end of the last piece.  


Step #6


(I missed taking a photo here!)


Secure the end to the rose with a few stitches


Step #7


(optional)


When I was done with my Fabric Rose, it seemed a little insecure.  I probably didn't stop and stitch it enough along the way.


I put a stitch through the width of the Fabric Rose.  


Start on the second layer of the Fabric Rose and push the needle almost all the way through.  End and knot it inside the first layer.

Step #8


Sew the pin on the back of the Fabric Rose.


Put it on and enjoy!


Or add it to your fabric cuff!

(This is obviously a different flower!  Learn how to make it:  Fabric Flower Cuff Bracelet)


Tutorial Sale


Good news!  May 4 - May 12, 2012 my tutorials are BUY ONE GET ONE FREE (equal or lesser value) in my Craftsy Pattern Store.


You can could purchase the Fabric Cuff Bracelet Digital Workshop and get the Zombie Doll Tutorial free!  (Or any other variety of tutorials!)


Head over to my Craftsy Pattern Shop and pick out 2 tutorials.  Purchase the one that costs more.  Then send me an email with your other choice.  Once I am notified of your purchase, I will email you your free tutorial.  (Your purchased tutorial will be in your Craftsy Pattern Library under "Your Account" immediately.)


Any questions, please let me know!!

2.01.2012

New Tutorials! Fabric Flower Cuff Bracelet and Freestyle Sewing Cuff Braclet

I have a couple new tutorials available in my etsy shop!  First, the adorable Fabric Flower Cuff Bracelet tutorial.

and


These are both available in my etsy shop right now and just $5 each.

If you want them both plus 2 more and the Love Cuff Tutorial all in one, purchase the Basic Fabric Cuff Tutorial for just $15!

1.14.2012

Fabric Flower Tutorial

Fabric Flower Tutorial

This tutorial is similar to my Newspaper Flower Tutorial, but uses fabric instead!

These make great gifts because unlike regular flowers, these flowers never die!  Use old worn out clothing for fabric and your helping the planet twice (once for not cutting flowers and again by reusing fabric.)


Materials and tools:

2 Buttons
Floral Wire
Scissors
Pliers
Straight pins

Instructions:

Step #1


Print out and cut the flower pattern.  Alternatively, you could draw your own.  The flowers are 2 sizes, one is smaller than the other.

Step #2


Pin the pattern to the fabric and cut out the fabric.  You'll cut 3 of each size.  You can use 2 different colors like I did here, or you can use just one color.

Next we're going to put all the pieces in a pile in order.

Step #3
Put a large flower right side down first.

Step #4


Fold the other 2 large flowers in half - right side out - and place them next to each other as shown in the photo.

Step #5

Place the smaller 2 flowers on top of the larger in a similar manner, but place them the other direction.

Step #6


Place the final smaller flower on top, right side up and unfolded.

Step #7

Fold the floral wire in half.

Step #8

Place a button on the floral wire.

Step #9

Before we start placing the fabric on the floral wire, we need to place small cuts in the fabric.  I cut each as I need them.  Take the top flower and fold it in half, and fold it in half again.  Make a tiny cut in the fabric.  (It will make 2 cuts.)


Step #10


Take the top flower off the pile, cut slits in it (as described in step #9) and slide it onto the floral wire, right side facing the button.

Step #11
Place the first of the folded flowers onto one prong of the floral wire. 

Step #12

Add the next flower on the other prong of the floral wire.

Step #13

Add the next folded flower, going the opposite direction as the first 2.  This time, you'll place both prongs of the floral wire through the hole.

Step #14

Place other folded flower onto the floral wire just like in the previous step.

Step #15

Add the final flower, wrong side toward the other flowers.

Step #16

Add the second button.

Step #17

With your pliers, twist the floral wire.  I like to make sure the first twist is tight to the button.

Step #18
Then twist the entire floral wire.  I usually hold the pliers on the wire and twist the flower.  Then as it is twisted, move the pliers down the wire.

Step #19
Enjoy your never-dying flower!


Want more ways to reuse clothing and make awesome stuff?!?  I'm releasing a new tutorial next week!  To get on the list to be the first to know when it's available, sign up for my new tutorial newsletter (Emerging Creatively)