

Welcome to
TUTORIAL TUESDAYS ™
Each Tuesday, I will do a tutorial for you, with words and photos, of a project. We will be starting out with a couple of jewelry tutorials, but I will be branching out as well. I hope to try out some new projects for myself, too!
This week will be doing a great little bracelet I designed. It is simple, yet unique. It is just in time for Halloween.
This is a great way for beginners to get started. I will give you instructions for the minimal amount of tools required.
I also have this as a kit in my shop. So, if you want to make this exact design you can get the kit to follow along. (Only one is listed, I will relist as they sell as long as I still have them available!) First person to email me with their name and address will get it free! BBBellezza@hotmail.com
Note, this kit is not vegan friendly; however, I can subsitute hard plastic skulls in place of the bone skulls, just let me know!!
Now, onto our tutorial!
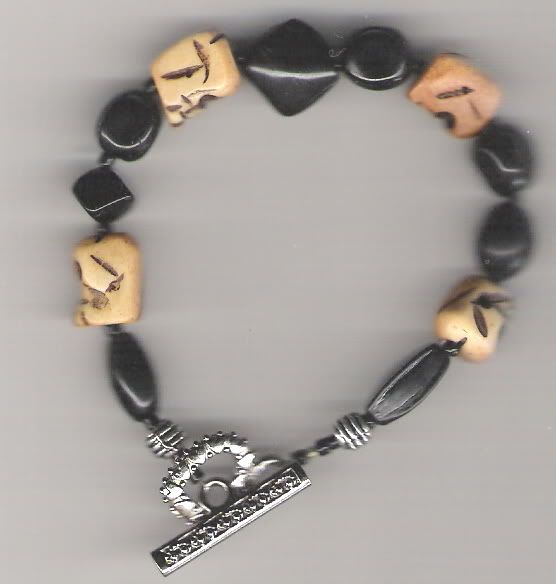
Skull Bracelet!
Supplies:
- 4 Skull beads
- Black glass beads (I have used 8)
- 2 Silver spacer beads
- 2 Crimp Beads
- Supply of seed beads
- Silver Heart Toggle Clasp
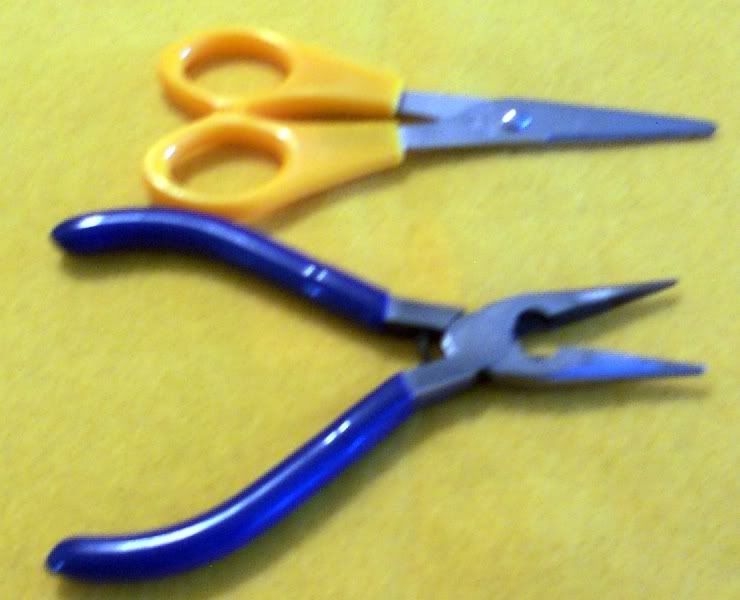
Tools needed: (Note, these are not included in the craft kit package)
- Wire cutters (or scissors work, just don't use your special fabric scissors!!)
- Pliers (you don't necessarily need anything fancy)
Instructions:
STEP 1
Make sure that you have all of your supplies and tools ready. I hate having to interrupt myself halfway through a project to go and get this or that.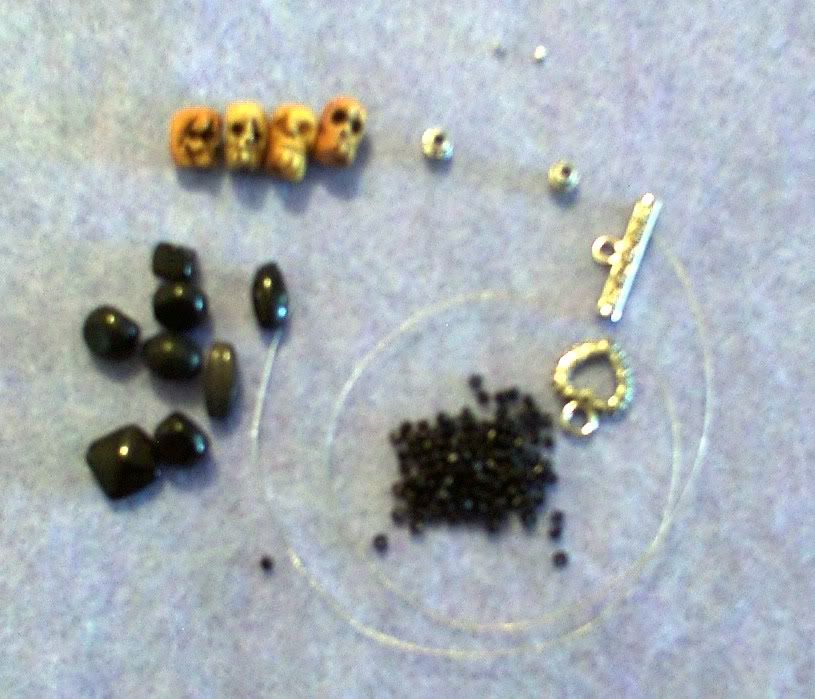
Tools:

Step 2
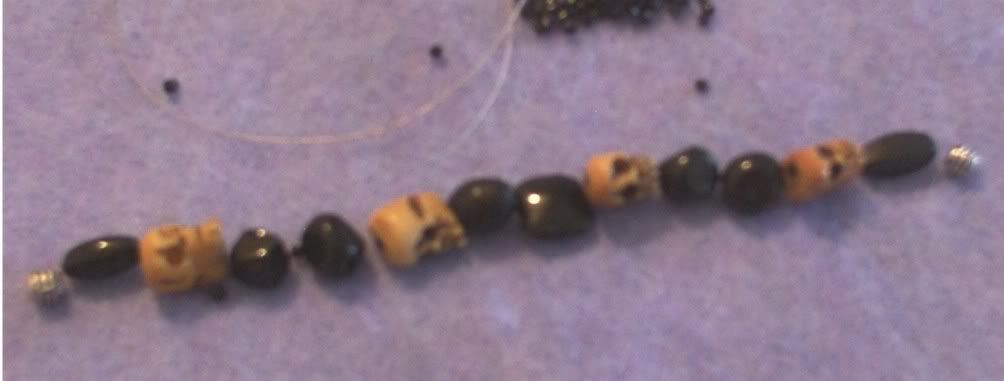
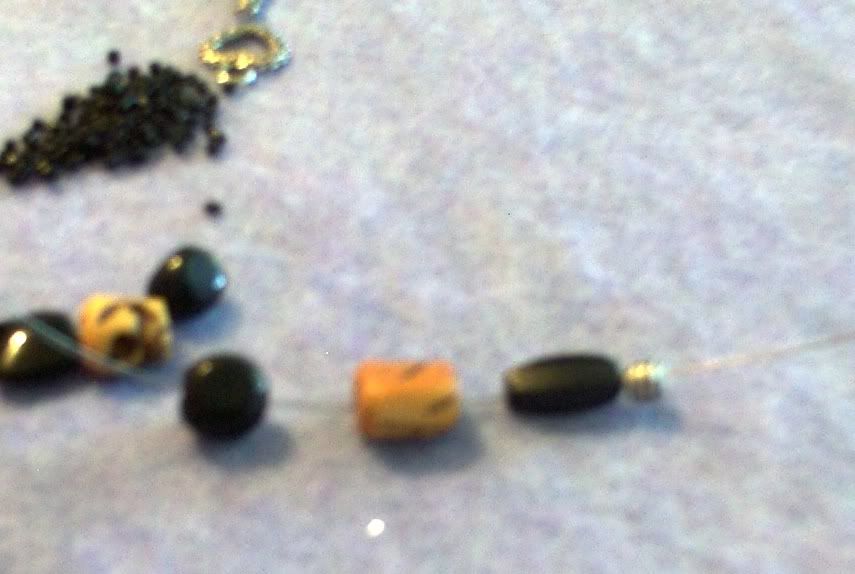
I like to lay out my design before I start beading. It is helpful to place the beads on a piece of felt or a place mat so that the beads do not roll around.
You can use my design, or make one of your own. I changed my mind after laying it out. That is fine, too!! I started out with this design, but then decided to add a seed bead in between each other bead.
Step 3
Slide the beads onto the beading wire, being careful to not allow the beads to come off the wire. You can put tape on one side if you like until you get the hang of it.

Step 4
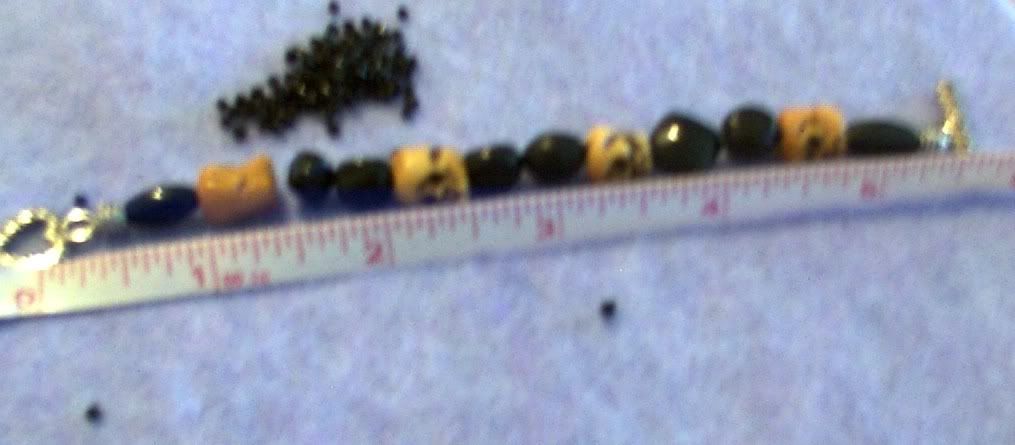
Check the fit and add or remove beads as necessary. You can add in seed beads within the bracelet (i.e. put 2 seed beads in between each bead) or add some to the end of the bracelet.
Check the fit around your own wrist or with a measuring tape if you are making it for someone else as a gift and you know their wrist size.
Step 5
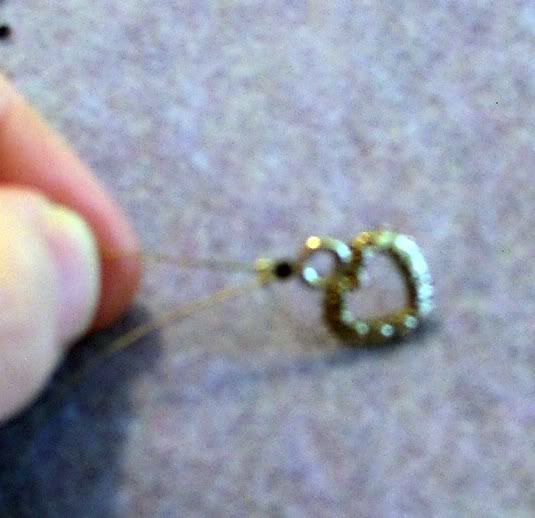
At one end place a seed bead, a crimp bead, another seed bead and one part of the toggle clasp and loop the wire back around through the seed bead, the crimp bead and a couple of beads. Slide the beads so that it is a close fit, but not super tight.
Step 6
Next we are going to close the crimp bead. Use your pliers to smoosh the crimp bead flat. Try to pull the beading wire so that the ends are separated into each side of the crimp bead. Then place the crimp bead on a flat surface and use the pliers to fold the crimp bead in half. Make sure that the crimp bead is secure and trim any excess wire with the wire cutters.
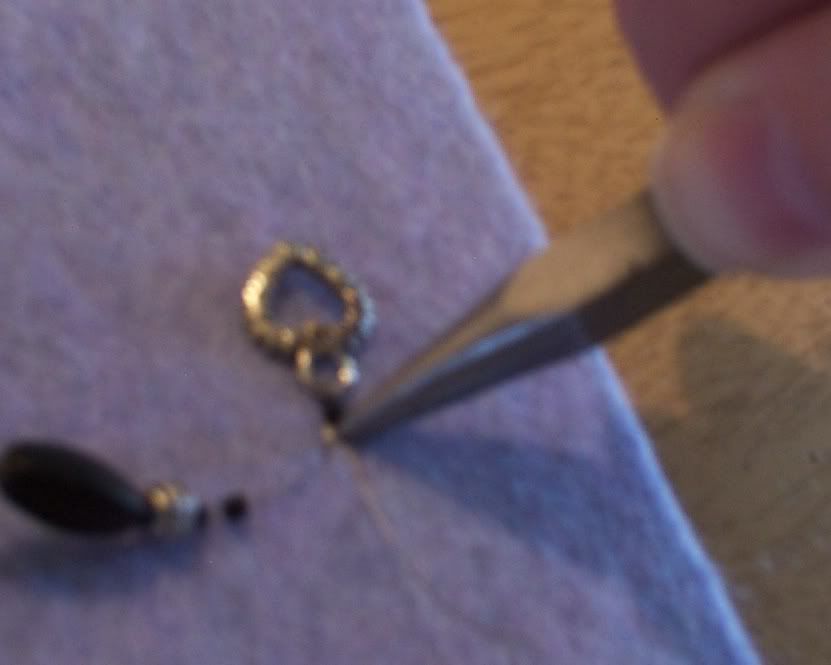
Step 7
Repeat Steps 6 and 7 on the other end of the bracelet with the other part of the toggle clasp.
Step 8
Enjoy your bracelet and impress your friends with your great new skill!
See, that wasn't so bad, was it?
We made it through Tutorial Tuesday, Vol. 1!! Woo Hoo!!
I hope everyone has enjoyed it! I know I did! Any questions let me know!
Remember, you can go to my store for this craft kit. More will be added soon! Etsy has this one only and eBay has a couple others.
Ideas for my jewerly kits:
Get a bunch of kits and have a DIY Jewelry Party! Everyone gets to make a piece of jewelry to take home with them.
They make great gifts for your crafty buddies or make the jewelry yourself and give the jewelry as a gift. Your friends will love their new handmade gift!
Take care!
Love,
Kim
1 comment:
How fun!!!!! Youa re so nice to share!! xxo (I make jewelry too, but have no patience for teaching, so you get huge brownie points!!!)
Post a Comment